
Set up: Mapping your chart of accounts
This tutorial will guide you on how to effectively manage your group chart of accounts using the chart of accounts mapping page.
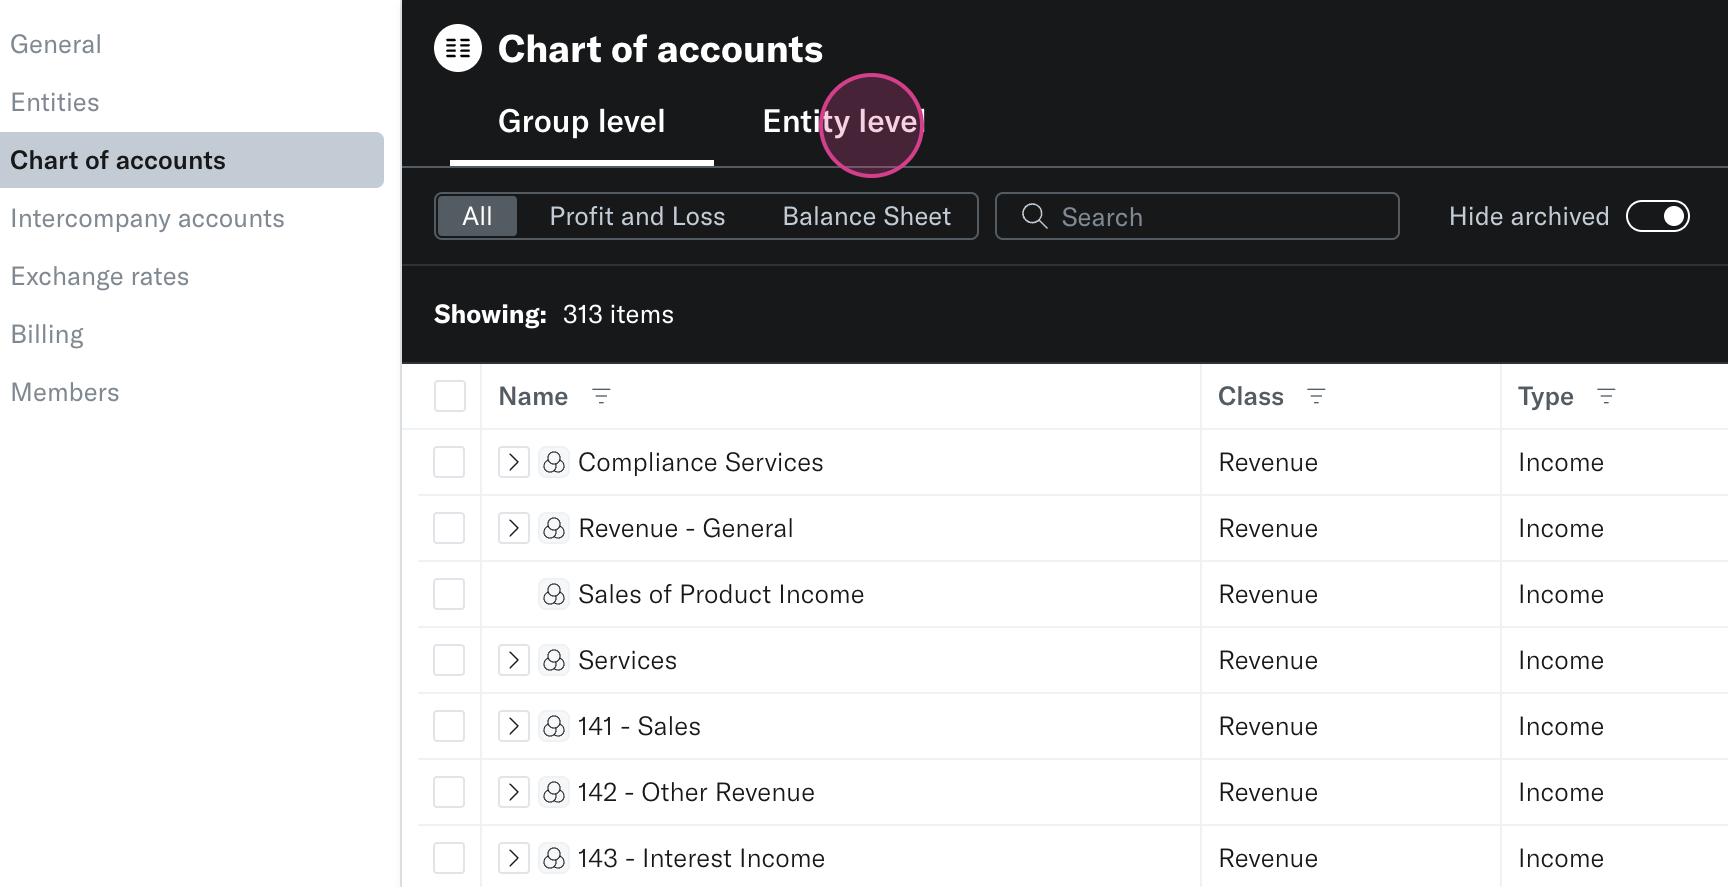
Step 1: Start by navigating to the chart of accounts page in your settings. This page automatically imports your chart of accounts from your accounting system into Translucent and creates a group set of accounts.
Accounts with identical names map to the same group level and are merged together.
i.e. Sales in Company A and Sales in Company B will become a Sales group account. If there is an account that belongs to only a single entity then it will have it's own group account code created.
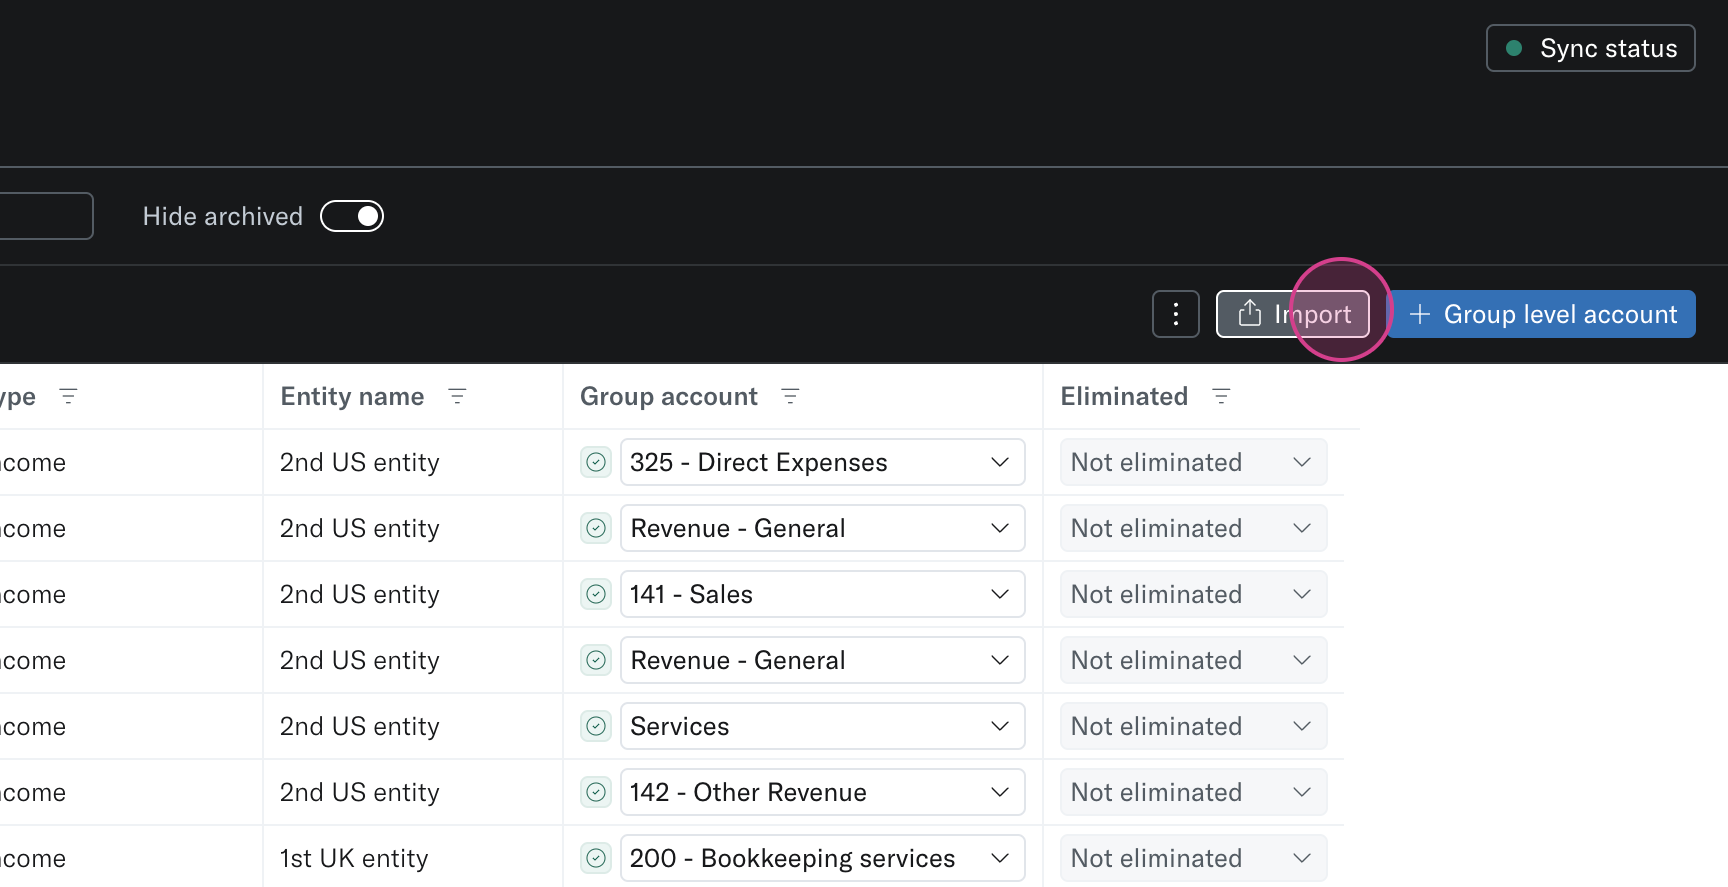
Step 2: If you need to perform a bulk remapping, especially when your accounts don't span across the group, utilise the import function. The import function is best utilised when you want to rebuild your entire set of accounts and complete a new custom group.
Step 3: Click the download button to get a pre-filled import template.
Step 4: Watch this video and follow the instructions within the file to complete your mapping.
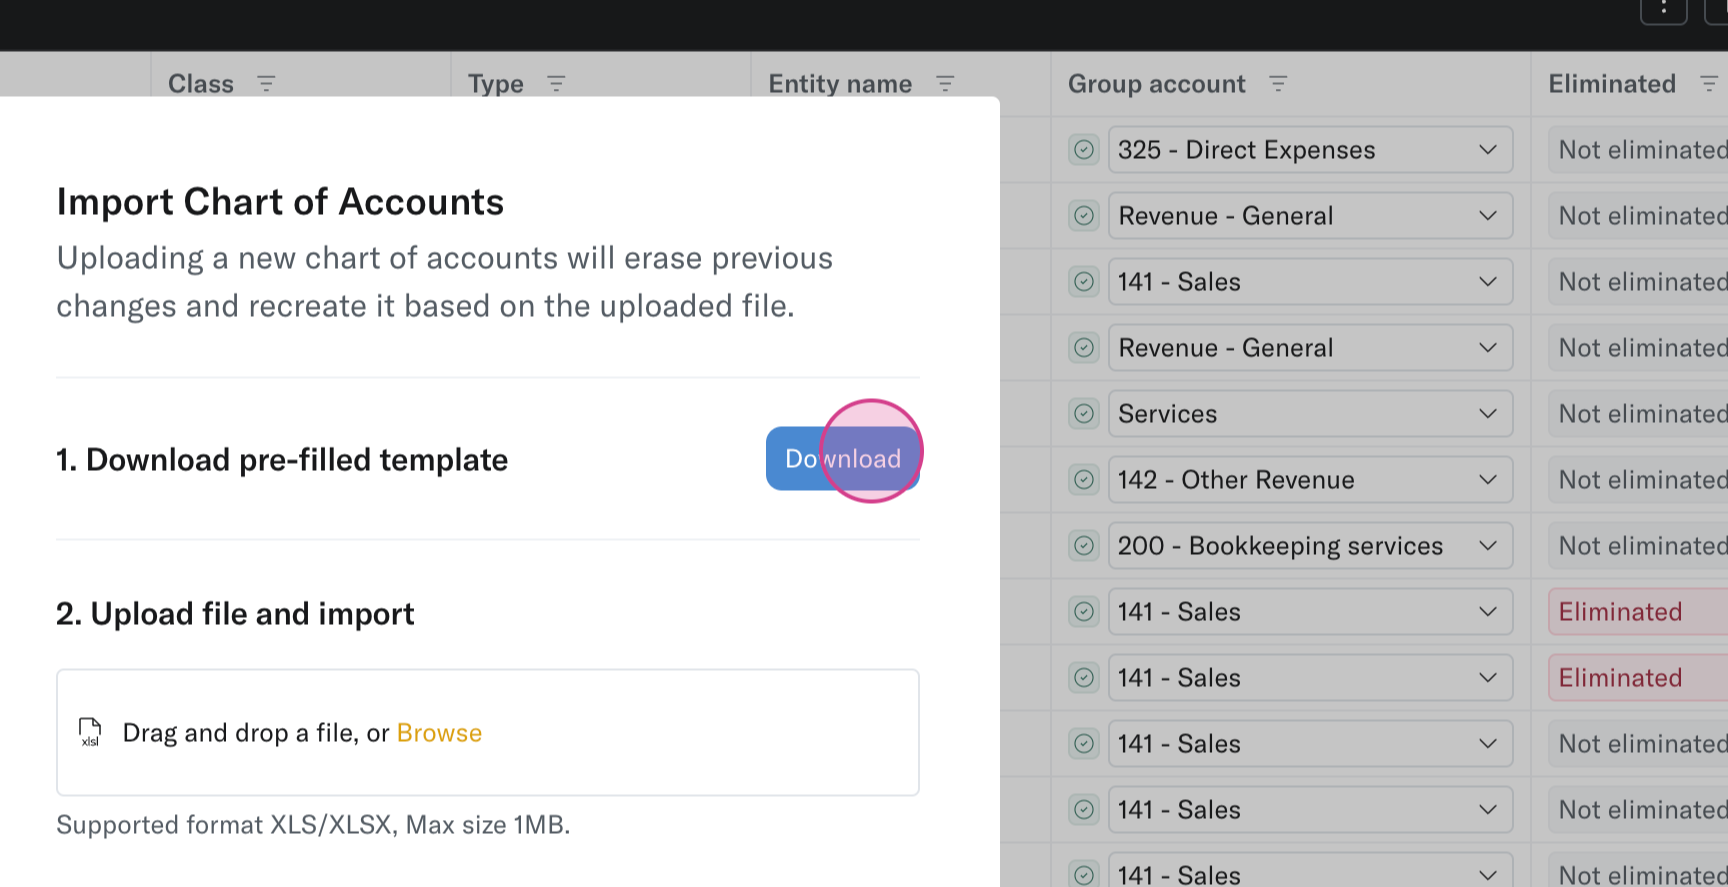
Step 5: Import the saved file to the platform by clicking the browse and import button, then click done.
Step 6: After importing your updated chart of accounts, you'll see the new groups and mappings have been applied across your group.
To make further edits or tweak any mappings, or set up your eliminations you can follow the below steps.
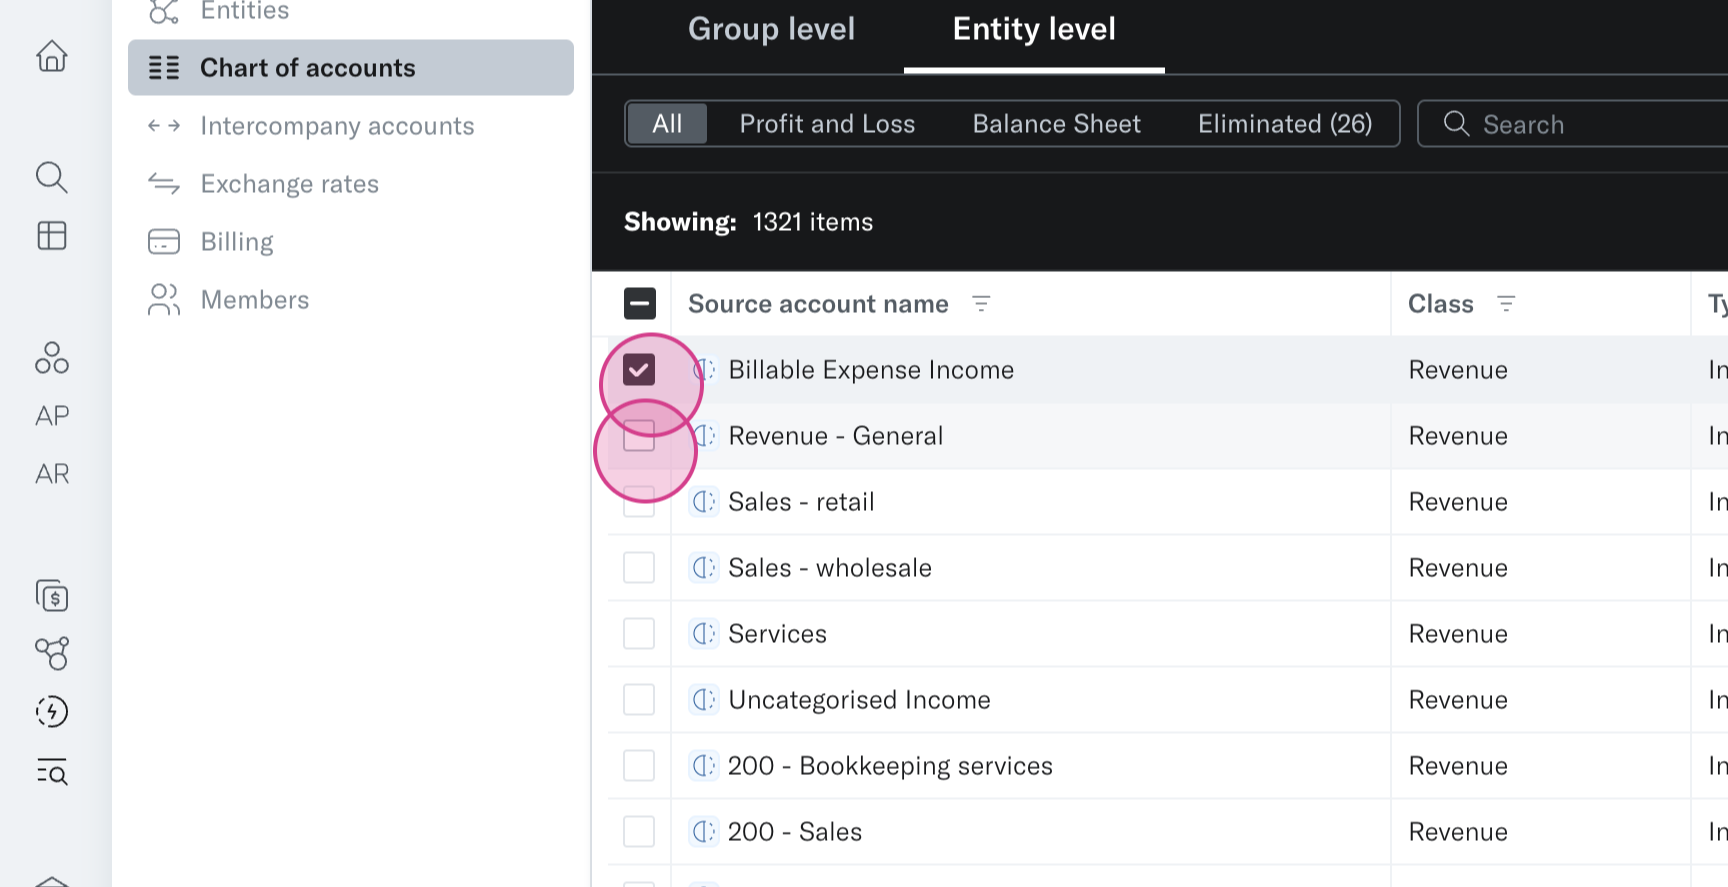
Step 7: Click on multiple accounts then the blue button 'map selected to…' and update both (or more) accounts at once. You'll see your accounts in the dropdown or you can search for them.
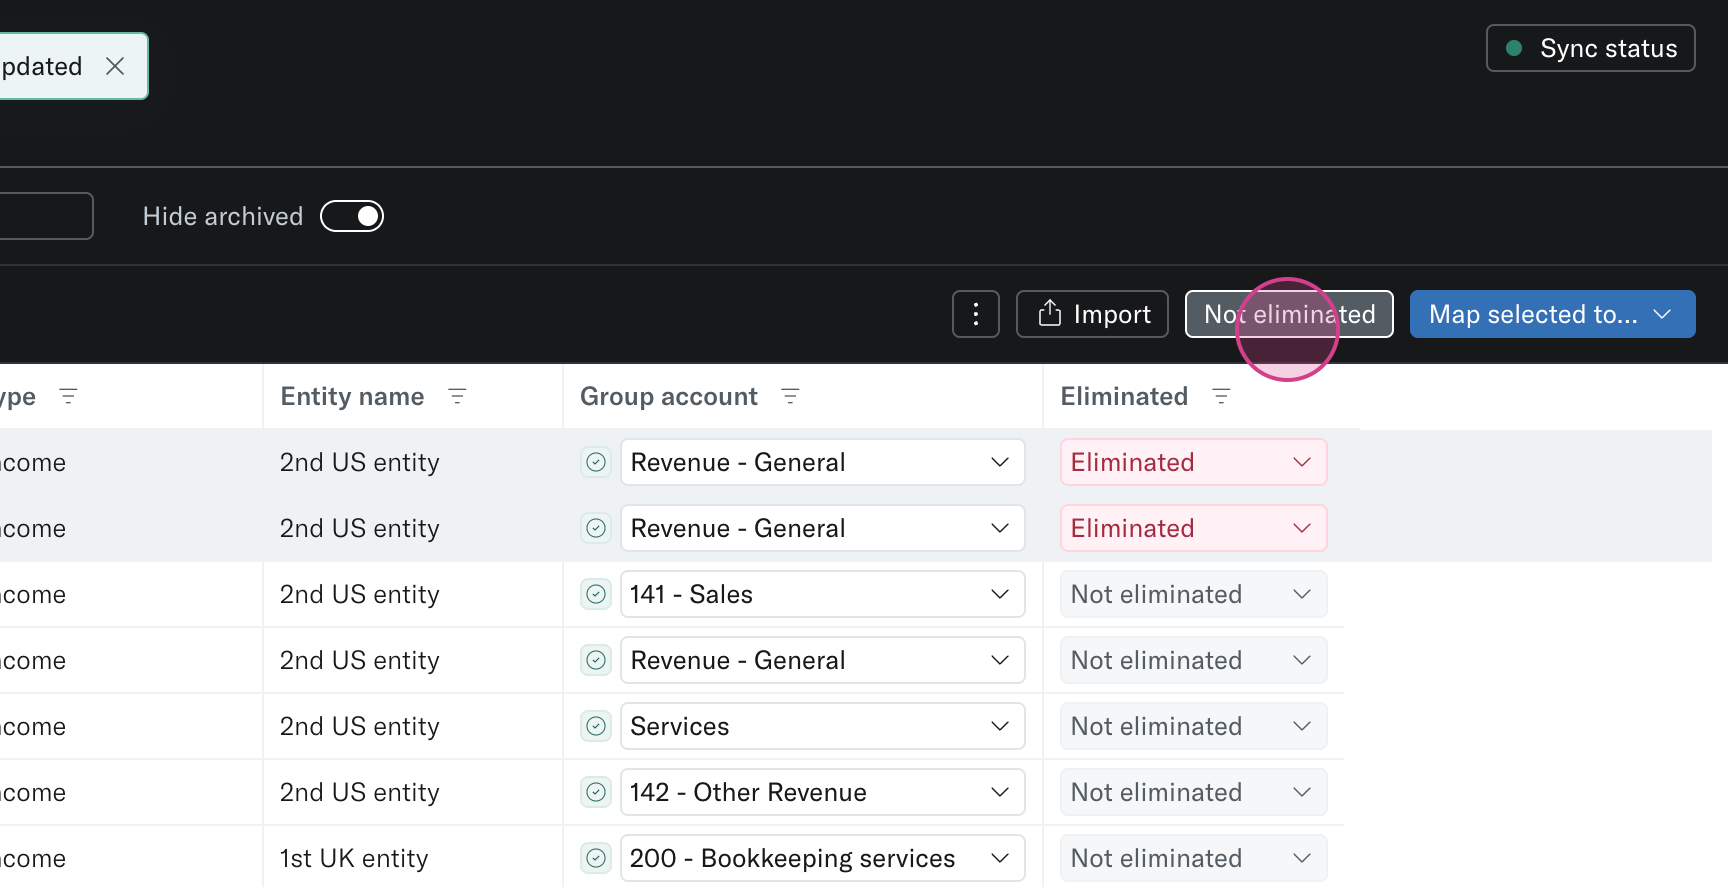
Step 8: You also have the option to eliminate accounts. This will remove the balances of these accounts in your group reporting screen by adding them to the eliminations column.
Step 9: Once your accounts are mapped, you can view the group level chart of accounts.
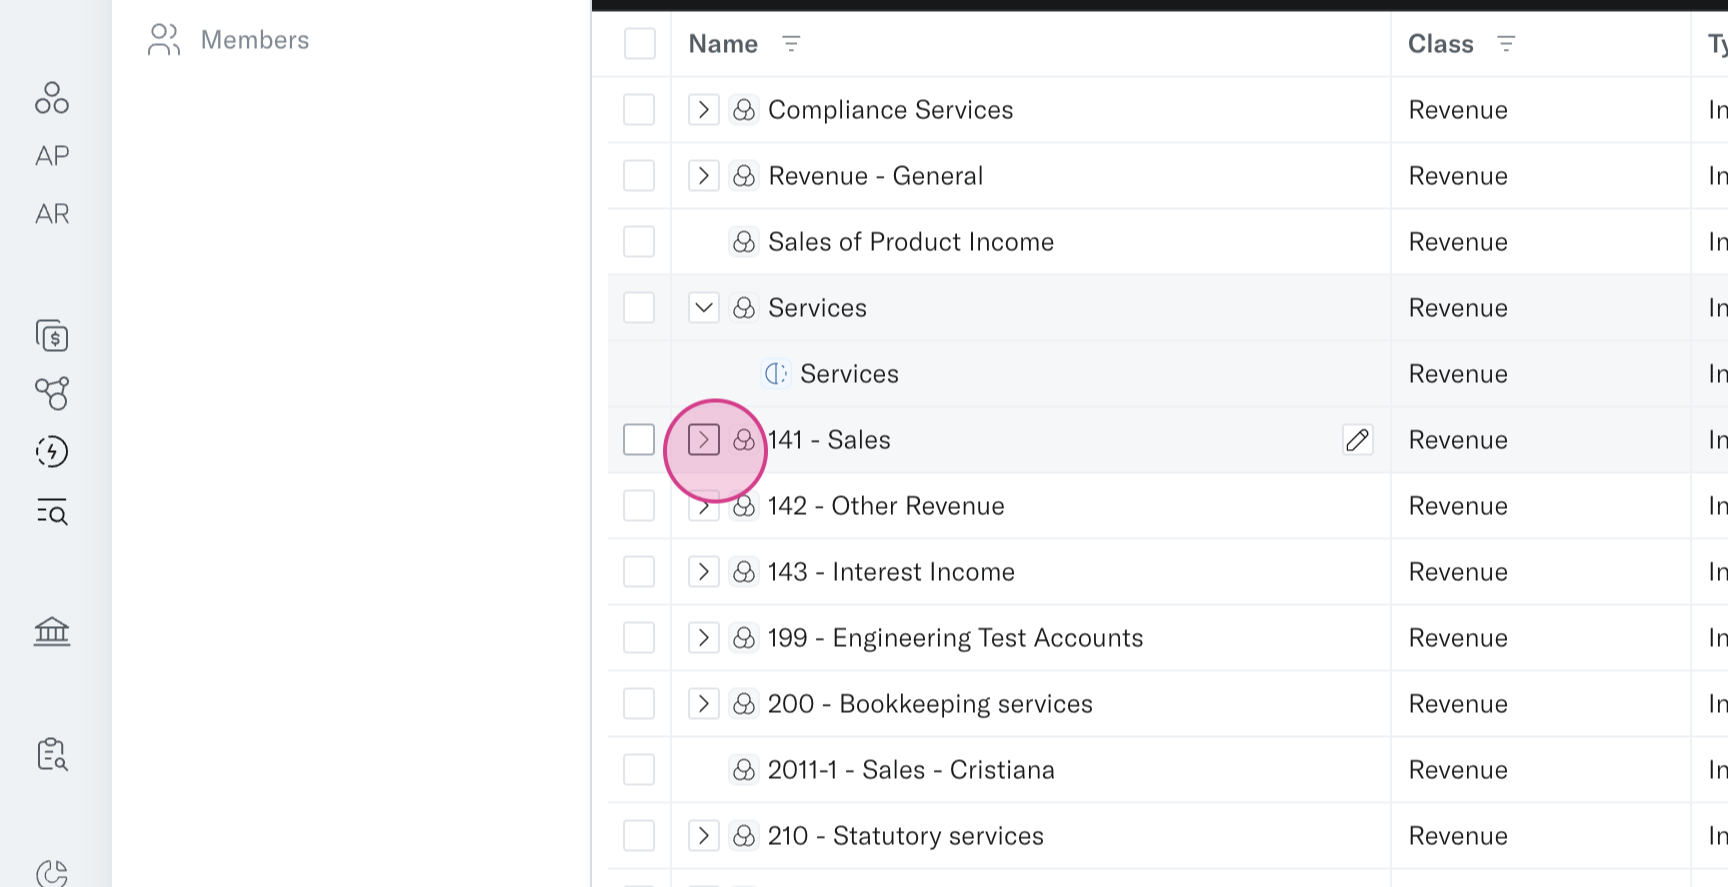
Step 10: Check how your entity level accounts have been mapped by expanding the group name.
Step 11: If necessary, remap your accounts.
Step 12: You can delete any accounts that don't are no longer needed. This option is located under bulk actions.
NB: You can use the reset button at any point to start from scratch if needs be.