
Creating User Roles
Step 1: Log in as an admin, navigate to Settings and click on Manage Roles.
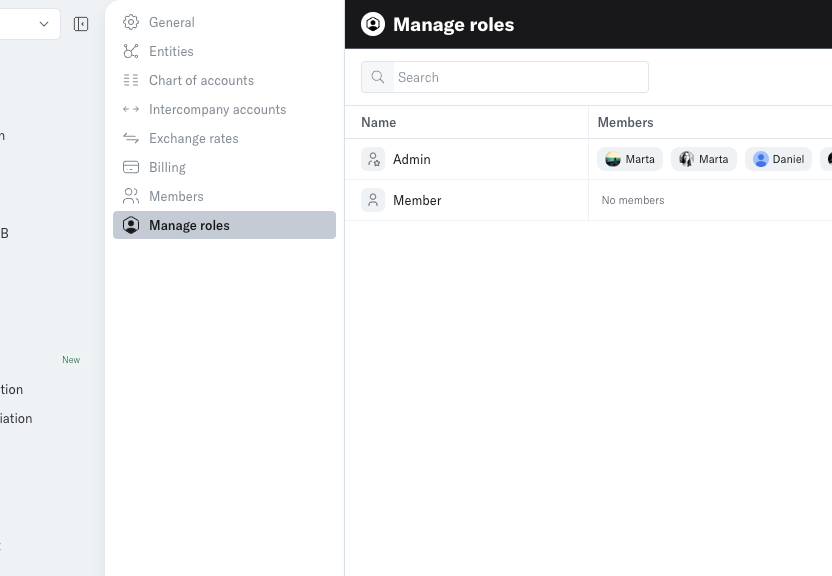
Step 2: Here, you'll see Admin and Member. These are the default roles.
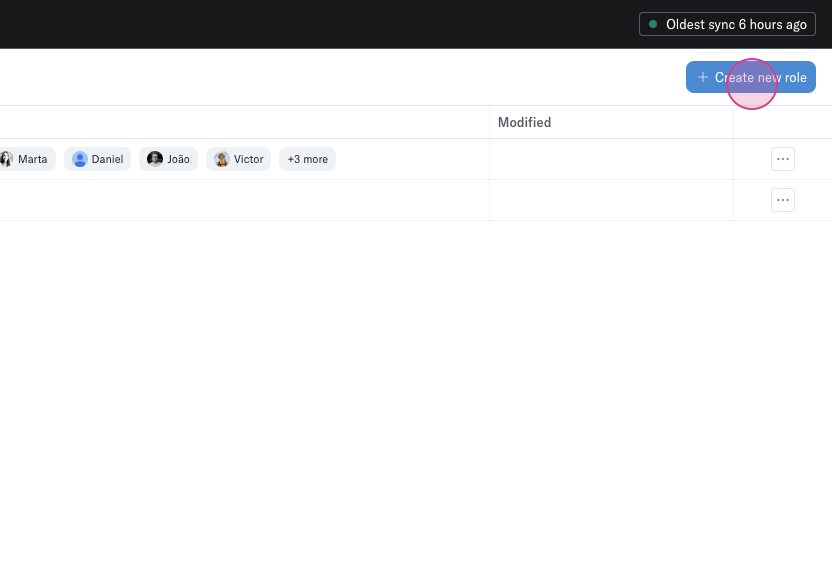
Step 3: To create a new custom role, click on Create new roles.
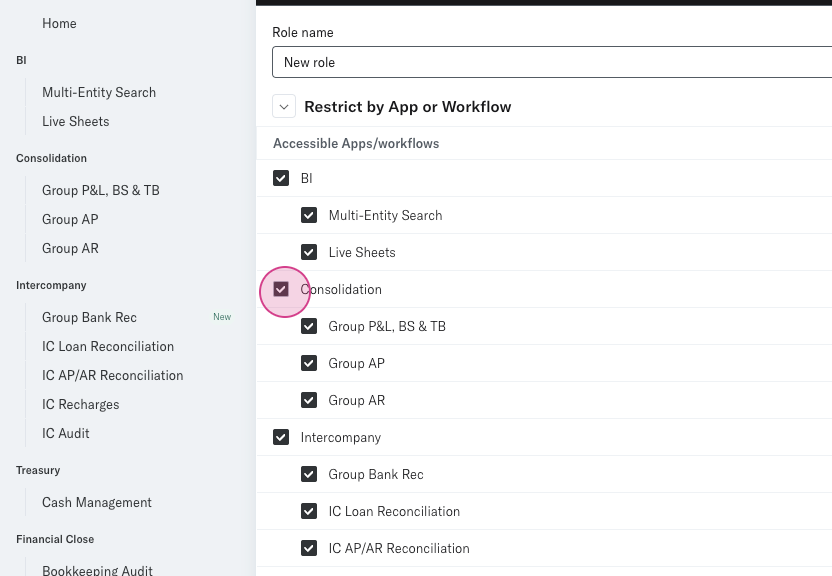
Step 4: Define a name for the new role and specify the access level for this role.
Step 5: You can also restrict access by data type.
Note: Data restrictions are currently available only on search. Data types include account class, account type, account code and name, counterparties, tracking categories, and date.
Step 6: Click on Add role to finalize the new custom role.
Step 7: The new custom role will appear. These custom roles can be edited, duplicated, or deleted.
Step 9: Navigate to the Members page to assign the new role to a team member.