Data Dimensions: Creating and Managing Data Dimensions in Translucent
Our Data Dimensions tool is designed to help you create Dimensions in the Translucent platform.
Dimensions are equivalent to Tracking Categories in Xero and Classes from QuickBooks.
Once created you can view your Dimensions in Consolidation and view your Dimensions across the group.
Dimensions are created based on a rules basis. Within the Data Dimensions app you create the criteria for your rules. This is then applied to all the transactions that match your criteria. Your rules are applied on an ongoing basis.
Upon first navigating to the Data Dimensions page, you may find it empty. From here, you can proceed to create your first dimension.
Step 1: Navigate to the Data Dimensions page. If it's your first time using it, the page might appear empty.
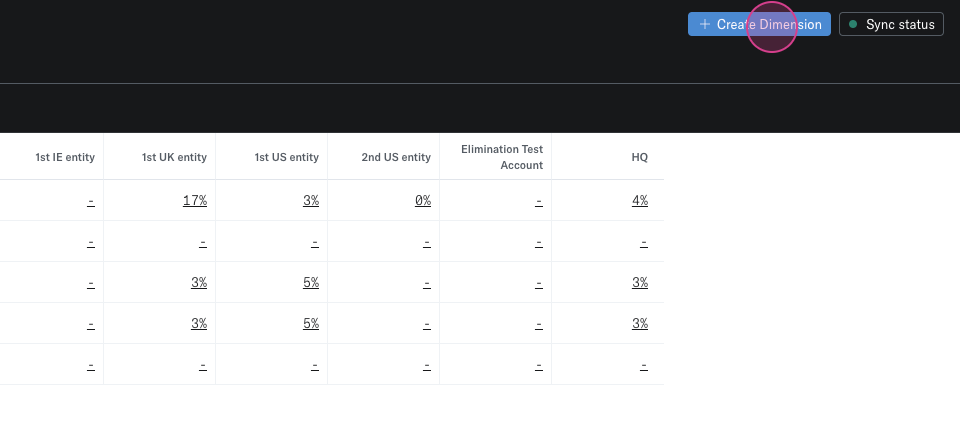
Step 2: Click on the Create Dimension button to create your first Dimension. For this tutorial, we'll name it "Department".
Step 3: Select a date for your Dimension. In the select calendar.
Step 4: Set your Dimension criteria. All items previewed within that Dimension will bring in all transactions from the selected date. In Translucent, we focus on business transactions like purchase invoices, manual journals, and direct costs, not the underlying account Translucent, i.e., your debits and credits. This aligns with how we use Xero and the search business Translucent screen.
Step 5: The preview will update so to show the business transactions for your selected criteria.
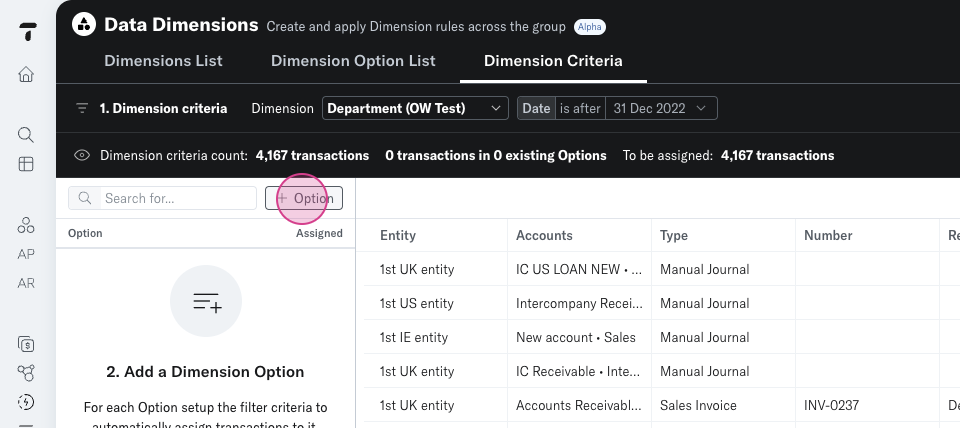
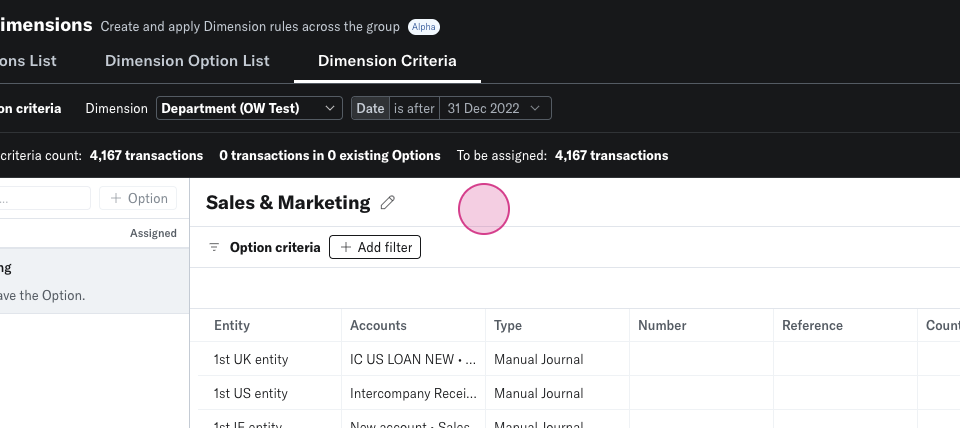
Step 6: Start creating your Options. Click on the +Option button then name your Option
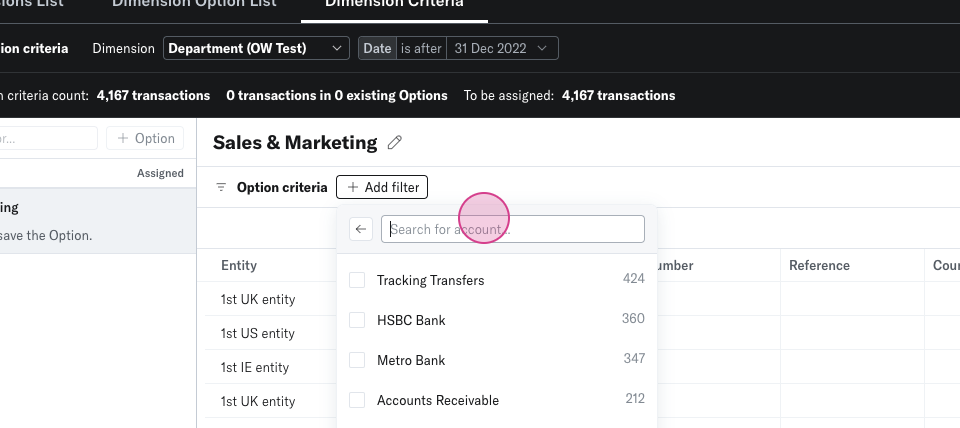
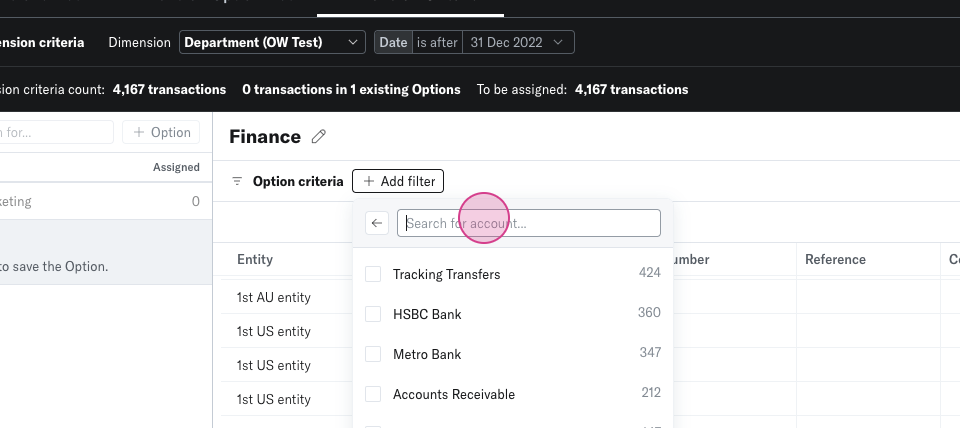
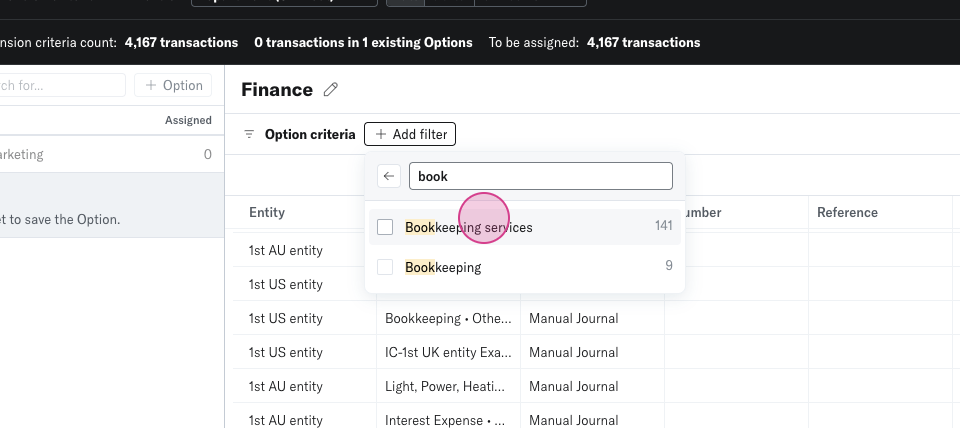
Step 7: You can now add your Option criteria. Click on "Add filter" and select from the dropdown the filters you want to apply.
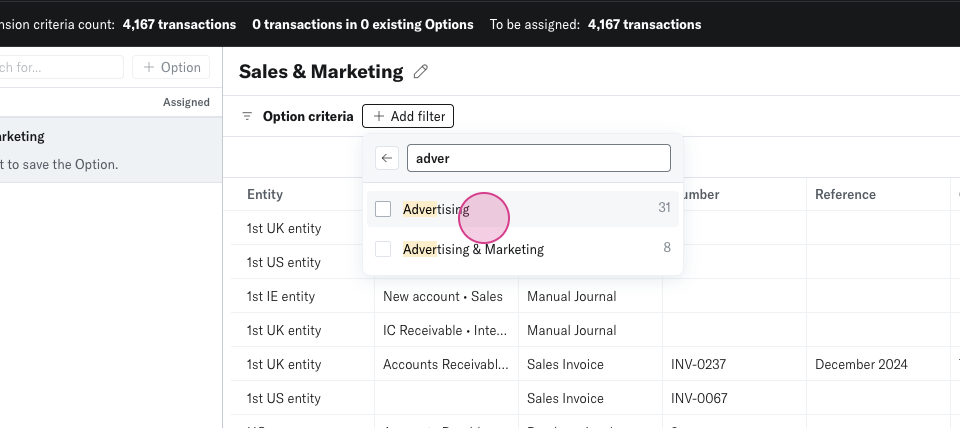
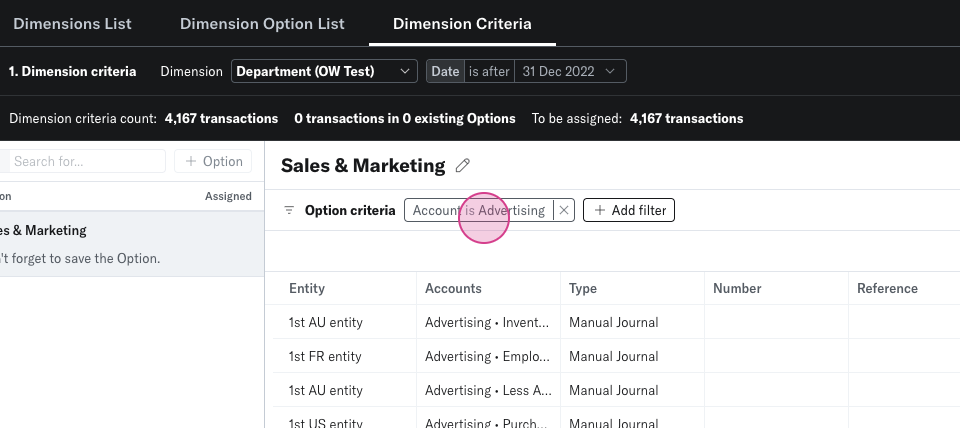
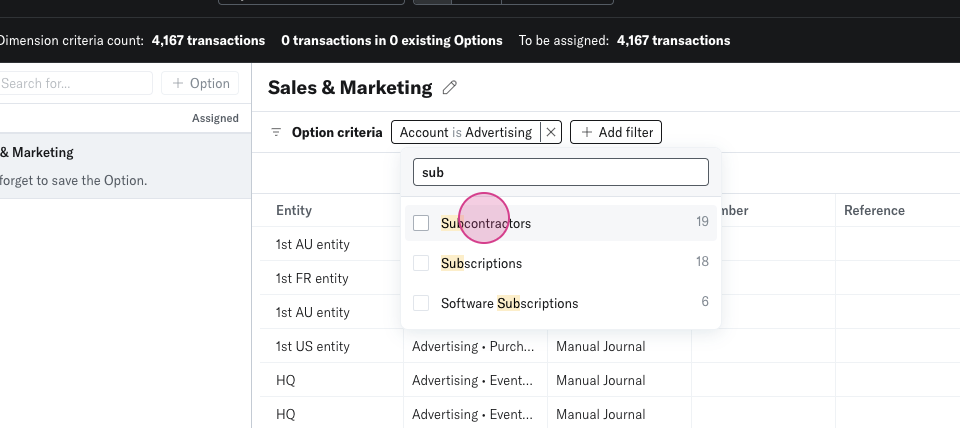
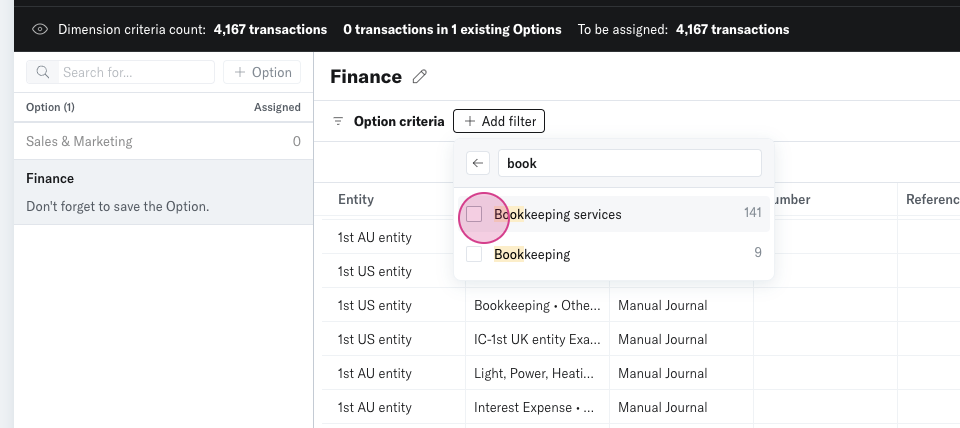
Step 8: Filter the transactions you want to map by selecting your accounts.
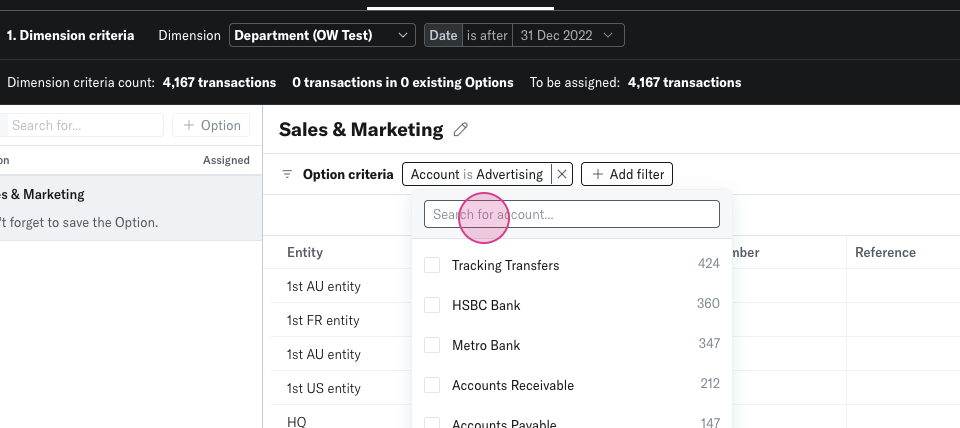
Step 9: You can add further accounts to your Dimension. In this example, we've selected another account.
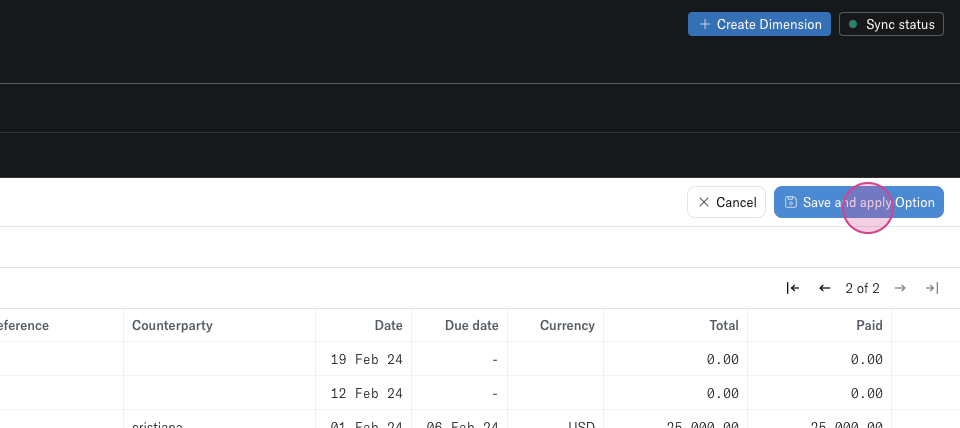
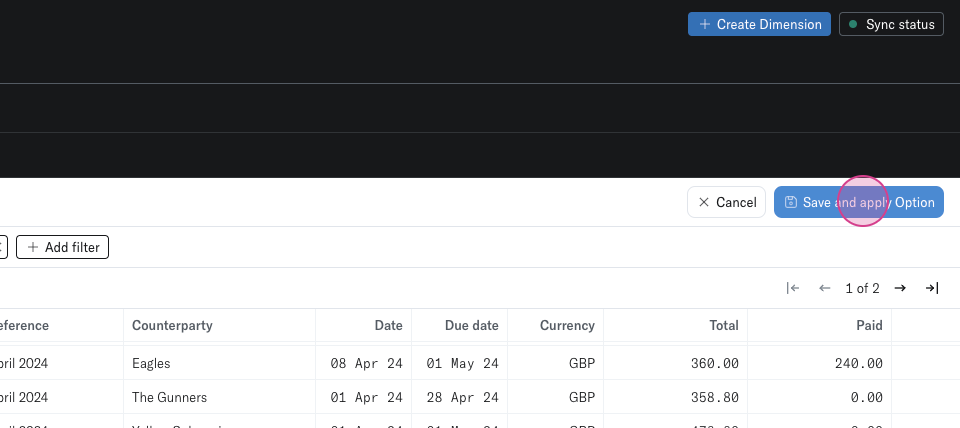
Step 10: Save and apply your Option. A confirmation message will appear.
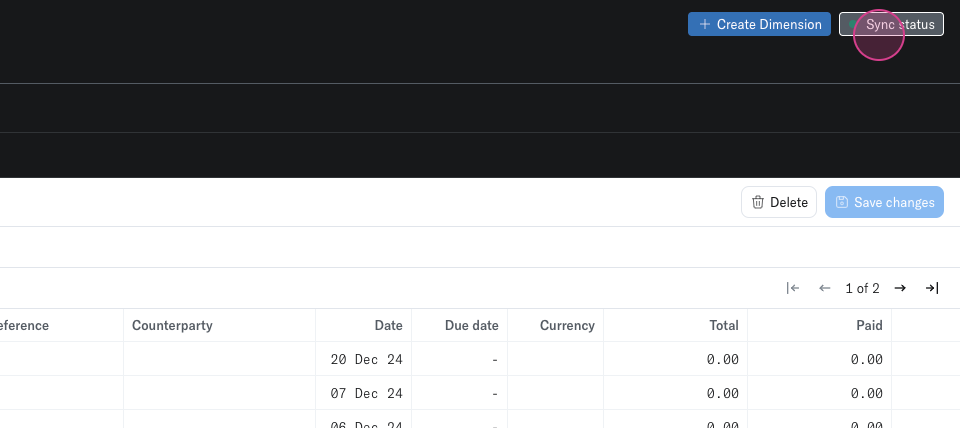
Step 11: Wait for the sync to complete. You can review the sync status by clicking on the sync status in the corner.
Step 12: You can create additional Options by clicking add Option.
Step 13: Add additional accounts to your new Option.
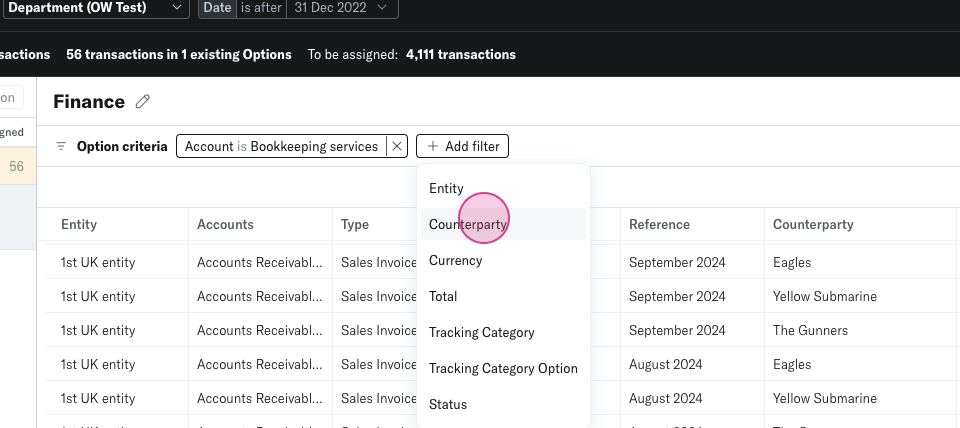
Step 14: Add a filter to your Option you can select additional filters such as "Counterparty"
Step 15: Save and apply your new Option. The numbers at the top of the page will update accordingly.
Step 16: Continue updating and add all the Options you need. As you assign each new Option we'll track how many Options have been assigned.
Step 18: Once assigned you can review the assigned Dimension Options in Consolidation by using the Split by.

